Step-by-Step Guide: How to Draw an Easy Garden with a Pencil?
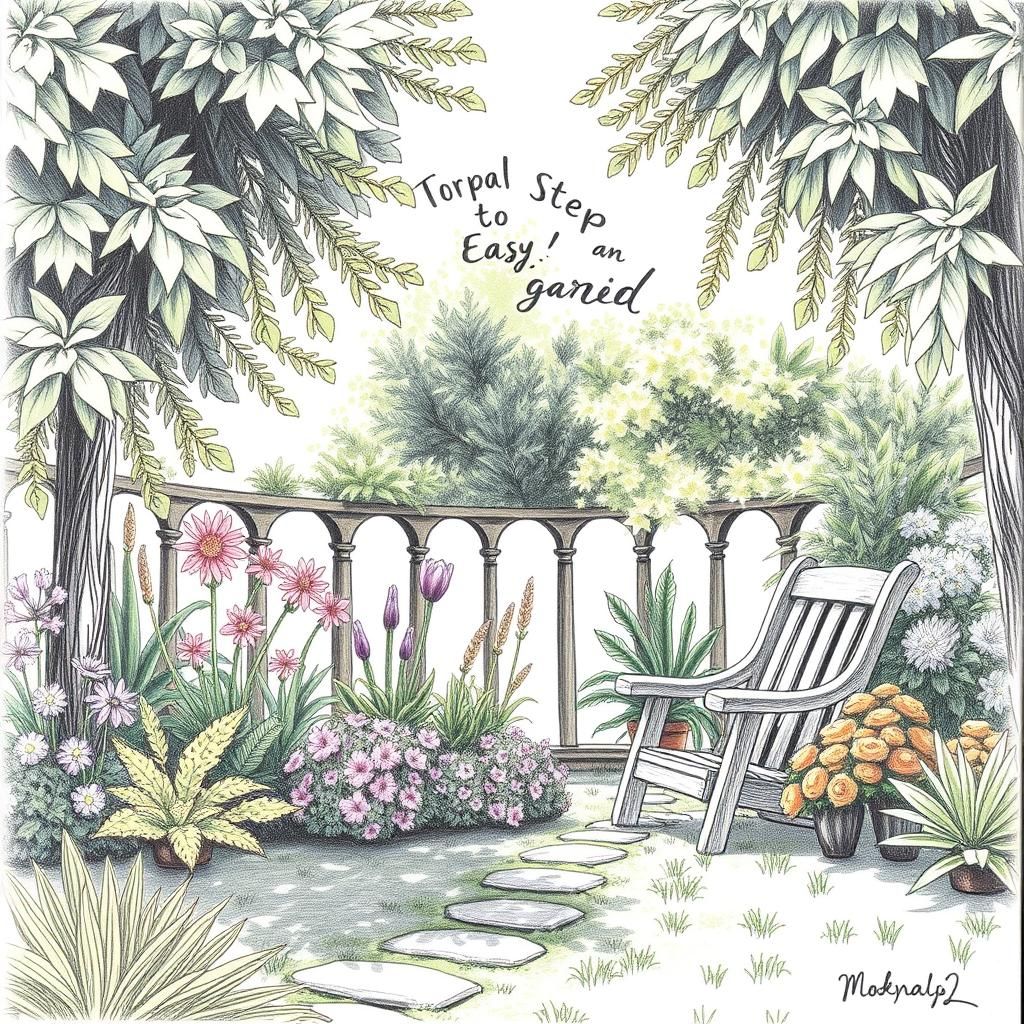
Drawing a garden can be a delightful and therapeutic experience, especially for beginners. This step-by-step guide is designed to help you create an easy-to-draw garden scene using just a pencil. Whether you’re looking to capture the beauty of blooming flowers, lush greenery, or playful garden insects, this tutorial will provide you with simple instructions and helpful tips. By breaking down the drawing process into manageable steps, we aim to boost your confidence in your artistic abilities. Grab your pencil and paper, and let’s embark on this creative journey to bring your dream garden to life!
How to Draw an Easy Garden with a Pencil
To draw an easy garden with a pencil, start by sketching the layout of your garden using simple geometric shapes. Begin with the horizon line to establish the background and then add elements like trees, flowers, and paths. Use light strokes to outline the shapes, as this allows for easy corrections. Focus on varying the sizes and positions of each element to create a more dynamic composition. Once you have your basic outline, progressively add details such as leaves and textures, applying slightly darker pencil lines and shading to give depth and dimensionality. Finally, review your drawing, adjusting any elements as needed, to achieve a balanced and visually appealing garden scene.
Choosing Your Garden Elements
When drawing a garden, it’s essential to decide on the elements you want to include, such as trees, flowers, and pathways. Consider using a mix of plants with varying sizes and shapes to enhance the visual appeal of your drawing. Flowers can be drawn as simple rounded shapes, while trees can be depicted with a trunk and a bushy canopy. Don't forget to incorporate seasonal elements, like blooming flowers in spring or fallen leaves in autumn, to add an extra layer of interest to your garden scene.
Sketching the Basic Shapes
Begin your drawing by lightly sketching the basic shapes of your garden elements. Use simple geometric forms to represent larger objects like trees and bushes. For instance, a rectangle can serve as a trunk, while circles and ovals can represent the foliage. This method helps to maintain proportionality and allows you to easily reposition elements until you achieve the desired layout. Keep your pencil strokes light; this will enable you to erase and refine shapes without damage to your paper.
Adding Details and Textures
Once your basic shapes are in place, start adding details to each element of your garden. For flowers, draw individual petals and varying textures to represent different types of blooms. Add lines to trees to signify bark texture and shading to create a three-dimensional effect. Remember to apply contrast using darker pencil strokes in shaded areas and lighter strokes where the light hits directly. This creates a more realistic representation of your garden.
See also:
Incorporating Pathways and Focal Points
Add pathways in your garden to lead the viewer’s eye through the drawing. Pathways can be represented with curvy lines that guide the viewer’s gaze towards focal points, such as a flower bed or a bench. You can enhance these pathways with added textures to suggest materials like gravel or stone. Consider using wider pathways in the foreground and narrowing them as they recede into the background to create a sense of depth.
Final Touches and Adjustments
As you wrap up your garden drawing, take a step back to assess overall balance and harmony between elements. Make any necessary adjustments to enhance the composition—whether by darkening certain areas, refining lines, or adding more details to specific plants. Pay attention to the light source and add corresponding shadows to keep your drawing cohesive. Finally, you can even use an eraser to create highlights or texture, providing a finishing touch to your serene garden scene.
| Element | Shape | Detailing Techniques |
|---|---|---|
| Trees | Rectangle (trunk), Circle (canopy) | Lines for bark, shading for depth |
| Flowers | Circle, Oval | Petal shapes, varying textures |
| Pathways | Curvy Lines | Textures for material |
| Bushes | Branches, Clusters | Darker lines, scribbles for foliage |
| Focal Points | Varied Shapes | Enhance details to draw attention |
Essential Tools and Materials for Drawing a Garden
When embarking on the journey to draw an easy garden with a pencil, it's important to gather the right tools and materials before you start. A good quality pencil is essential, preferably an HB or 2B pencil for versatility in shading. You will also need erasers for making corrections, and a sharpener to keep your pencil tips fine for detailed work. A reliable sketchbook or drawing paper is crucial, ensuring that the paper can handle the pressure of your strokes without tearing. Additionally, having a ruler can help in achieving straight lines for garden boundaries, while optional tools such as colored pencils can add a splash of life to your drawing once the basic outline is complete.
Choosing the Right Garden Layout
Selecting an appropriate layout for your garden can significantly enhance the overall design of your drawing. Consider whether you want a formal layout with neat edges or a more natural approach with curves and organic shapes. Plan the placement of major elements such as flower beds, pathways, and trees to create a balanced composition. Sketching a light outline of these elements can help visualize the overall structure and ensure that everything fits harmoniously within the space.
Sketching Basic Shapes and Elements
After establishing the layout, the next step is to start sketching basic shapes that will form the different elements of your garden. Begin with simple geometric shapes such as circles for flowers and rectangles for garden beds. This method allows you to build the foundation of your garden without getting overwhelmed by details. Focus on proportions and placement to ensure the garden appears realistic and inviting, keeping in mind the scale of each element relative to the others.
See also:
Adding Details and Textures
Once the basic shapes are in place, it's time to enhance your drawing with details and textures. This involves adding features such as the veins on leaves, the petals of flowers, and the texture of the soil. Use softer strokes and shading techniques to create depth, making your garden come to life. Don’t be afraid to experiment with different shading methods, like hatching and cross-hatching, to achieve a more realistic and dynamic appearance.
Incorporating Color and Finishing Touches
If you choose to add color after your pencil drawing, select a harmonious palette that reflects your vision for the garden. Use colored pencils to gently add hues to your flowers, foliage, and paths, ensuring to blend colors smoothly for a natural look. Pay attention to lighting; consider where the light source is coming from to strategically highlight and shadow your drawing. Finally, review your work for any last-minute adjustments or enhancements that can elevate the overall presentation.
Practice and Experimentation
As with any artistic endeavor, the key to mastering garden drawing lies in practice and experimentation. Allow yourself to try different styles, layouts, and techniques without the pressure of perfection. Each drawing you create builds your skills and helps you discover your unique artistic voice. Set aside time regularly to sketch gardens, and don’t hesitate to take inspiration from real-life gardens, photographs, or even your imagination to enrich your artistry.
Questions from Our Readers
What materials do I need to draw a simple garden with a pencil?
To draw a simple garden, you will need a few basic materials, including a pencil, eraser, and drawing paper. Additionally, having some colored pencils or markers can enhance your drawing later on, allowing you to add vibrant colors to the plants and flowers in your garden.
What steps should I follow to sketch the garden layout?
Begin by lightly sketching the outline of your garden layout. Start with the ground line and then add essential elements like flower beds, a pathway, or a fence. After establishing the basic structure, you can gradually add details like plants, trees, and other features, making adjustments as needed.
See also:
How can I make my garden drawing look more realistic?
To enhance realism in your drawing, pay attention to shading and proportions. Use varying degrees of pressure on your pencil to create shadows that give depth to the plants. Observing real gardens can provide insight into how to accurately depict textures and sizes, adding to the overall authenticity of your artwork.
Can I use references while drawing my garden?
Absolutely! Using reference images is a fantastic way to improve your drawing skills. Look for pictures of gardens that inspire you and use them to understand the arrangement of plants and the variety of shapes and sizes. This can guide you in creating a more imaginative and well-composed garden sketch.

If you want to read more articles like Step-by-Step Guide: How to Draw an Easy Garden with a Pencil?, we recommend you check out our Garden category.
Leave a Reply
Related Articles