When to Remove Seed Pods? Essential Tips for Gardeners
When gardening, knowing the right time to remove seed pods is crucial for maintaining plant health and optimizing growth. Seed pods can contain valuable seeds that may be essential for the next planting season, but they can also divert energy from the parent plant or attract pests. Understanding the lifecycle of your plants and the purpose of the seed pods is key. In this article, we will explore essential tips for gardeners on when and how to effectively remove seed pods, ensuring that your garden remains vibrant and productive throughout the growing season.
When to Remove Seed Pods?
Removing seed pods is a crucial step in managing garden plants, particularly if you're looking to maintain the plant's health or promote further blooming. Ideally, you should remove seed pods when they start to turn brown and dry out, as this indicates that the plant has finished using the nutrients from the pods and is ready for the next growth cycle. Additionally, timely removal prevents the seeds from falling to the ground and self-seeding, which could create overcrowding in your garden. Observing your plants regularly will help you determine the best time to cut the pods, keeping in mind the overall health and blooming potential of the species you are caring for.
Signs That Seed Pods Are Ready to Be Removed
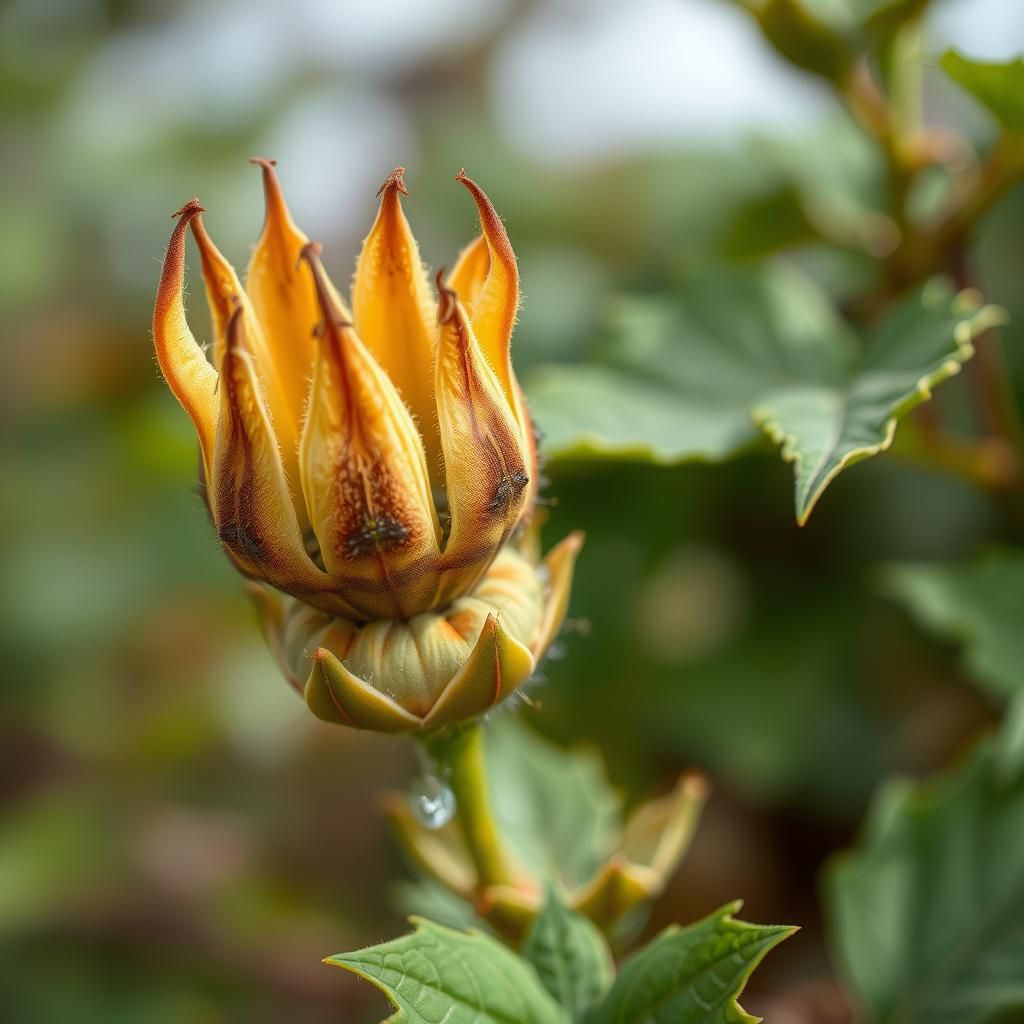
When seed pods are ready to be removed, they typically exhibit certain visual cues. Most notably, they will change color, often turning brown or yellow, and become dry to the touch. Additionally, many seed pods will begin to crack open, indicating that the seeds inside are maturing and ready for dissemination. It's important to act promptly, as delaying the removal process can lead to natural dispersion, resulting in unwanted seedlings and potential strain on your garden’s resources.
The Impact of Removing Seed Pods on Plant Growth
Removing seed pods can have a significant impact on plant growth and health. This practice often encourages the plant to redirect its energy from seed production back into vegetative growth and further flower development. By eliminating spent pods, you're signaling to the plant that it can continue to produce new blooms, ultimately leading to a more vibrant garden. Additionally, this process can prevent diseases related to rotting pods, thereby enhancing the overall vitality of your plants.
How to Properly Remove Seed Pods
Properly removing seed pods involves careful technique to ensure that the plant remains unharmed. Using sharp, clean pruning shears, cut the pods at the base while avoiding any damage to the stem and surrounding foliage. It’s advisable to make cuts at an angle to promote healing and reduce the risk of disease. For larger plants, consider removing only a portion of the pods to retain some seeds for future growth, or cut the pods into smaller pieces to facilitate quicker decomposition.
Timing Considerations for Different Plant Species
Different plant species have varied timelines for seed pod readiness, making timing an essential consideration. For example, some annuals may produce pods that are ripe for removal shortly after the flowering season, typically in late summer. In contrast, perennials may retain their pods longer into the fall. Researching the specific requirements for the species in your garden will provide better insight into when to execute this critical maintenance step, ensuring sustainability and blooming success in future seasons.
Tools Needed for Seed Pod Removal
To effectively remove seed pods, certain tools can significantly enhance the process. A pair of sharp pruners is essential for making clean cuts. It’s also helpful to have gloves on hand to protect your hands from sap or any irritants, particularly when working with certain plants that may have thorns or milky sap. A small bucket or bag can facilitate collecting removed pods, making cleanup efficient and reducing clutter in the garden.
| Plant Species | Ideal Timing for Removal | Notes |
|---|---|---|
| Annuals | Late Summer | Remove pods before self-seeding occurs. |
| Perennials | Fall | Some may retain pods through winter. |
| Bushes | Post-Bloom | Monitor for ripe pods after flowering. |
| Trees | Late Summer to Early Fall | Consider seasonal changes and growth patterns. |
| Vegetables | Varies by Type | Check for specific harvesting times. |
Should you remove seed pods?
The decision to remove seed pods depends on several factors, including the type of plant, the intended purpose of the garden, and personal preferences. Seed pods can serve various roles, from providing habitat for wildlife to assisting in the propagation of plants. Here are key considerations to keep in mind:
Benefits of Keeping Seed Pods
Keeping seed pods can offer several advantages to your garden and the surrounding ecosystem. Seed pods can play an essential role in plant reproduction and can contribute positively to biodiversity.
See also:
- Natural Seed Dispersal: Maintaining seed pods allows for natural distribution of seeds, potentially leading to new plant growth in desired areas.
- Wildlife Support: They can provide food and habitat for various bird species and small animals, enhancing the ecological value of your garden.
- Aesthetic Value: Some seed pods have unique shapes, colors, or textures that can add visual interest to your landscape during the autumn and winter months.
Reasons to Remove Seed Pods
While there are benefits to keeping seed pods, there are also valid reasons to consider their removal, particularly in a managed garden.
- Preventing Overcrowding: If left unchecked, some plants may become overcrowded, competing for resources and negatively impacting the health of other plants.
- Reducing Disease and Pests: Old seed pods can harbor pests and diseases that may affect not only the plant itself but also neighboring plants.
- Encouraging New Growth: Removing old seed pods can redirect the plant’s energy into new growth and flowering, leading to a healthier appearance.
Seasonal Considerations
The time of year can play a significant role in determining whether to remove seed pods. Seasonal factors should be taken into account.
- Late Summer and Fall: In many regions, seed pods are typically left on until late summer or fall, allowing seeds to mature and be dispersed naturally.
- Winter Cleanup: During winter, many gardeners choose to clean up their gardens, which may include removing seed pods, to prepare for new growth in spring.
- Spring Growth: In early spring, consider leaving some pods on, as they can provide a habitat for beneficial insects during the early life stages.
Impacts on Plant Health
The health of the plant itself can influence the decision to remove seed pods, and understanding these impacts is crucial.
- Energy Allocation: Plants need to allocate their energy effectively; excessive seed pod retention can sap energy from leaves and roots.
- Flowering Capacity: Removing old seed pods can encourage the plant to produce more flowers, which may be essential if decorative blooms are desired.
- Overall Vitality: A healthier plant may benefit from the removal of unproductive seed pods, leading to improved growth rates and vitality.
Best Practices for Removal
If you decide to remove seed pods, certain best practices can help ensure a beneficial outcome for your garden.
- Timing: Remove seed pods just after the seeds have matured to give them the best chance for dispersal without risking overcrowding.
- Technique: Use clean, sharp garden tools to minimize stress on the plant and prevent damage to surrounding foliage.
- Disposal Methods: Consider composting healthy seed pods or discarding them in a manner that prevents pest attraction.
When to remove a dome from seeds?

When you remove a dome from seeds largely depends on the germination stage and the environmental conditions in which the seeds are being cultivated. Generally, the dome is removed when the seedlings have established a solid growth foundation and are capable of surviving without the added humidity provided by the cover. Signs that it is time to remove the dome include the appearance of the first true leaves, a noticeable increase in height, and the ability of the seedlings to tolerate lower humidity levels.
Signs of Seedling Maturity
Removing the dome too early can hinder seedling growth, while waiting too long can lead to damping-off disease. Key signs include:
- First True Leaves: The presence of the first set of true leaves indicates that the plant has moved beyond the germination phase.
- Height Increase: Seedlings should show upward growth. If they become leggy, this indicates they may need more light.
- Sturdy Stems: The stems should be robust enough to support the plant; thin, weak stems may indicate further need for support.
Humidity Needs
Seedlings require a certain level of humidity for optimal growth. Removing the dome should align with their capacity to adjust to normal humidity:
- Gradual Acclimatization: Slowly acclimatize seedlings by venting the dome for shorter periods before full removal.
- Humidity Levels: Monitor humidity; seedlings can usually tolerate around 50-70% humidity before the dome is removed.
- Environmental Stability: Ensure that temperature and humidity are stable in the environment before removing the dome.
Light Exposure
Adequate light is essential for healthy seedlings. Evaluating light conditions helps in deciding when to remove the dome:
- Light Intensity: Ensure seedlings receive sufficient light, as inadequate light can lead to stretching.
- Duration of Light: Provide at least 12-16 hours of light daily for healthy growth before removing the dome.
- Type of Light: Use appropriate grow lights if natural sunlight isn't sufficient to maintain growth without the dome.
Soil Moisture Levels
Soil moisture consistency is critical during the whole process of germination:
See also:
- Moisture Check: Ensure the soil is moist but not soggy, as over-watering can lead to rot.
- Drainage: Ensure pots have adequate drainage, allowing seedlings to thrive without the dome.
- Watering Schedule: Implement a proper watering schedule to maintain balanced soil moisture before dome removal.
Pest and Disease Monitoring
Before taking off the dome, it’s vital to ensure that the seedlings are healthy:
- Regular Inspection: Check for pests and signs of disease. Healthy seedlings are more resilient when dome is removed.
- Preventive Measures: Implement integrated pest management to mitigate any risks during the transition.
- Humid Conditions: High humidity under the dome can promote fungal diseases, so assess the risk before removal.
Do you have to let seed pods dry on the plant?

When it comes to harvesting seeds, it is often beneficial to let seed pods dry on the plant. This process allows the seeds inside the pods to attain their full maturity and helps ensure better germination rates. Here are some detailed considerations regarding seed pod drying.
Benefits of Letting Seed Pods Dry on the Plant
Letting seed pods dry on the plant can provide several key advantages:
- Maturity: Seeds that are allowed to fully mature often have a higher viability rate compared to those harvested prematurely.
- Natural Protection: Remaining on the plant offers seeds protection from pests and diseases that may be present in the soil.
- Better Quality: Dried pods prevent the seeds from absorbing excess moisture, which can lead to rot and reduced germination rates.
How to Identify When Seed Pods Are Ready to Harvest
It is crucial to recognize the right time for harvesting dried seed pods. Indicators include:
- Color Change: Seed pods often change color as they dry; they may turn from green to brown or yellow.
- Firmness: The pods should feel dry and hard to the touch.
- Sound: If you shake the pods and hear the seeds rattling inside, they are likely ready for harvest.
Common Types of Plants with Seed Pods
Several plants produce seed pods, and knowing them can help you understand drying needs:
- Legumes: Peas and beans produce pods that should be dried on the plant for optimal seed quality.
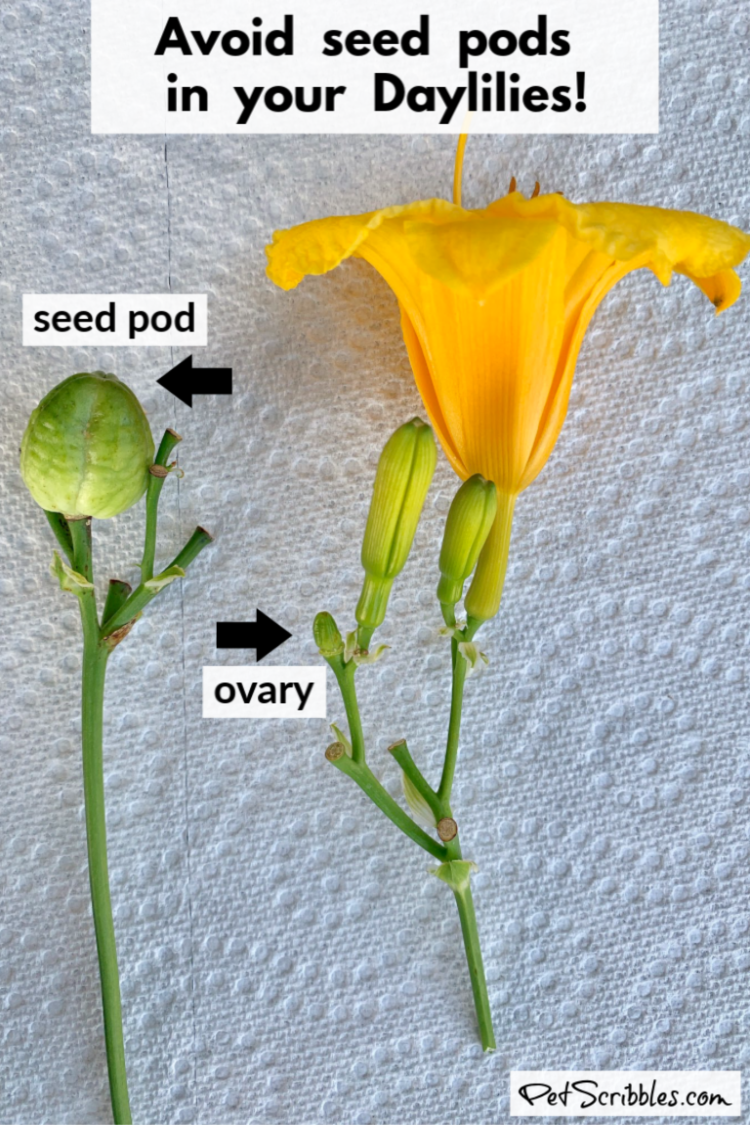
- Flowers: Plants like lilies and poppies have pods that mature and dry, resulting in viable seeds.
- Fruits: Some fruit plants, such as okra, develop pods that contain seeds and should be left to dry on the vine.
Potential Risks of Not Drying Seed Pods on the Plant
Skipping the drying process can lead to several risks:
- Premature Harvest: Seeds harvested too early may not germinate efficiently, leading to lower yields.
- Increased Disease Risk: Moist seeds are more susceptible to fungal infections and other diseases.
- Lower Seed Quality: Freshly harvested seeds may not have the same germination potential as fully dried seeds.
Best Practices for Drying Seed Pods
If you've decided to let seed pods dry on the plant, consider these best practices:
- Monitor Weather: Ensure the weather is dry and sunny to promote effective drying without mold.
- Avoid Watering: Limit watering plants before harvest to reduce moisture content in the pods.
- Use Proper Techniques: Gently remove the pods at the right time and store in a cool, dry place to maintain their quality.
Questions from Our Readers
When is the best time to remove seed pods?
Removing seed pods is best done when they are fully mature but still firm. This typically occurs after the plant has flowered and the pods have changed color. It is important not to wait too long, as the pods may split open and disperse their seeds, making it difficult to collect them.
Should I remove seed pods from all plants?
Not all plants require the removal of seed pods. For some plants, leaving the pods intact allows for natural propagation. However, if you're looking to control growth or preserve a particular plant's traits, it's advisable to remove the pods selectively, focusing on those that you wish to propagate.
See also:
What tools do I need to remove seed pods?
To remove seed pods effectively, you typically need a pair of sharp scissors or pruning shears. Using clean and sharp tools helps to avoid damaging the plant and ensures a neat cut, facilitating easier management of the seeds you wish to save for future planting.
Can I remove seed pods too early?
Yes, removing seed pods too early can be detrimental, as the seeds inside may not be fully developed or viable yet. It is crucial to wait until the pods are at a stage where they are mature enough, as premature removal can result in a loss of potential plants for future growth.

If you want to read more articles like When to Remove Seed Pods? Essential Tips for Gardeners, we recommend you check out our Garden category.
Leave a Reply
Related Articles