How Do You Reduce Shock When Transplanting Hostas? Essential Tips for a Successful Transition

Transplanting hostas can be a rewarding gardening endeavor, yet it often comes with challenges, particularly when it comes to minimizing plant shock. Understanding how to properly transition these beloved perennials from one location to another is essential for their long-term health and vibrant growth. In this article, we will explore effective strategies and essential tips to reduce shock during the transplanting process. From choosing the right time for relocation to proper soil preparation and watering techniques, these guidelines will help ensure that your hostas thrive in their new environment, allowing you to enjoy their lush foliage for years to come.
How to Reduce Shock When Transplanting Hostas
Transplanting hostas can lead to transplant shock if not handled carefully, but there are several effective methods to minimize this effect. Firstly, it is crucial to choose the right time of year for transplanting, ideally during the early spring or late summer when the plant is not in active growth. Prior to the move, ensure that the hosta is well-hydrated by watering it thoroughly a day or two before transplantation. When digging up the hosta, be gentle and take a wide root ball to prevent damaging the roots; this helps in retaining more soil and moisture. After transplanting, ensure the new location has appropriate soil conditions, and consider applying a layer of mulch to conserve moisture. Finally, regular watering in the first few weeks after transplanting will support recovery and stimulate new growth.
Choosing the Right Time for Transplanting
Timing is critical when it comes to transplanting hostas to reduce shock. The ideal periods are in early spring, just as new growth begins, or in late summer, when temperatures are cooler, and roots can establish before winter. Avoid transplanting during the hot summer months, as the stress of heat can exacerbate shock and hinder recovery.
Preparing the Hostas Before Transplanting
Preparing hostas involves ensuring they are well-hydrated prior to the move. Water the plants deeply a day or two before transplantation to help them withstand the stress of being uprooted. This not only helps to keep the root system intact during the process but also provides the plant with moisture needed to survive and thrive in its new location.
Digging the Hostas Properly
When digging up hostas, it’s essential to take care to remove as much of the root ball as possible. Use a spade or garden fork to gently loosen the soil around the plant, and then lift it with care, ideally ensuring a root ball that is at least 12 inches in diameter. This minimizes root damage and retains the surrounding soil, which is critical for the plant’s recovery.
Providing Suitable Soil Conditions
Once the hosta is transplanted, it is vital to ensure the new planting spot has proper soil conditions. Hostas thrive in well-drained, nutrient-rich soil that retains moisture. If the soil lacks these qualities, consider amending it with compost or organic matter to create an environment conducive to growth while also minimizing transplant shock.
Aftercare for Transplanted Hostas
After transplanting, proper aftercare is essential to support the hosta during its recovery phase. Regular watering is crucial, especially in the first few weeks, to keep the soil consistently moist but not waterlogged. Adding a layer of mulch can help retain soil moisture and regulate temperature, reducing stress on the plant as it establishes itself in its new surroundings.
| Method | Description |
|---|---|
| Timing | Transplant in early spring or late summer. |
| Watering | Water thoroughly before and after transplanting. |
| Digging | Carefully remove a wide root ball to avoid damage. |
| Soil Conditions | Ensure well-drained, nutrient-rich soil for planting. |
| Aftercare | Water regularly and apply mulch to retain moisture. |
How to bring a plant back from transplant shock?

To bring a plant back from transplant shock, it is essential to provide proper care and conditions to help it recover. Transplant shock occurs when a plant is moved from one location to another, causing stress that can lead to wilting, yellowing leaves, and stunted growth. Here are steps you can take to help your plant bounce back.
Understanding Transplant Shock
Transplant shock is a common issue that many plants face after being relocated. This condition can occur due to damage to the root system, changes in soil type, and variations in light and moisture levels. When a plant experiences transplant shock, it is important to identify the signs, which may include:
- Wilting leaves
- Yellowing foliage
- Stunted growth or no new growth
Providing Adequate Watering
Proper watering is crucial for a plant recovering from transplant shock. Overwatering or underwatering can exacerbate the issue. To ensure the plant receives adequate moisture, follow these tips:
- Water the plant thoroughly immediately after transplantation.
- Check the moisture level of the soil regularly.
- Water again only when the top inch of soil feels dry to the touch.
Creating the Right Environment
A suitable environment plays a significant role in helping a plant recover from transplant shock. This includes providing appropriate light, temperature, and humidity. Key aspects to consider are:
- Place the plant in a location with indirect light to prevent further stress.
- Avoid exposing the plant to extreme temperatures or drafts.
- Maintain humidity levels to support the plant’s recovery process.
Using Fertilizers Wisely
When a plant is in transplant shock, fertilization needs to be approached with caution. Fertilizers can either aid recovery or hinder it if used improperly. Consider these guidelines:
See also:
- Wait at least a month after transplantation before fertilizing.
- Opt for a diluted, balanced fertilizer to promote root growth.
- Monitor the plant for signs of improvement before increasing fertilizer doses.
Patience and Observation
Lastly, patience is key in helping a plant recover from transplant shock. Each plant responds differently, and some may take longer than others to show signs of recovery. Important steps include:
- Observe the plant closely for several weeks.
- Document any changes in growth or appearance.
- Adjust care routines as necessary based on the plant's response.
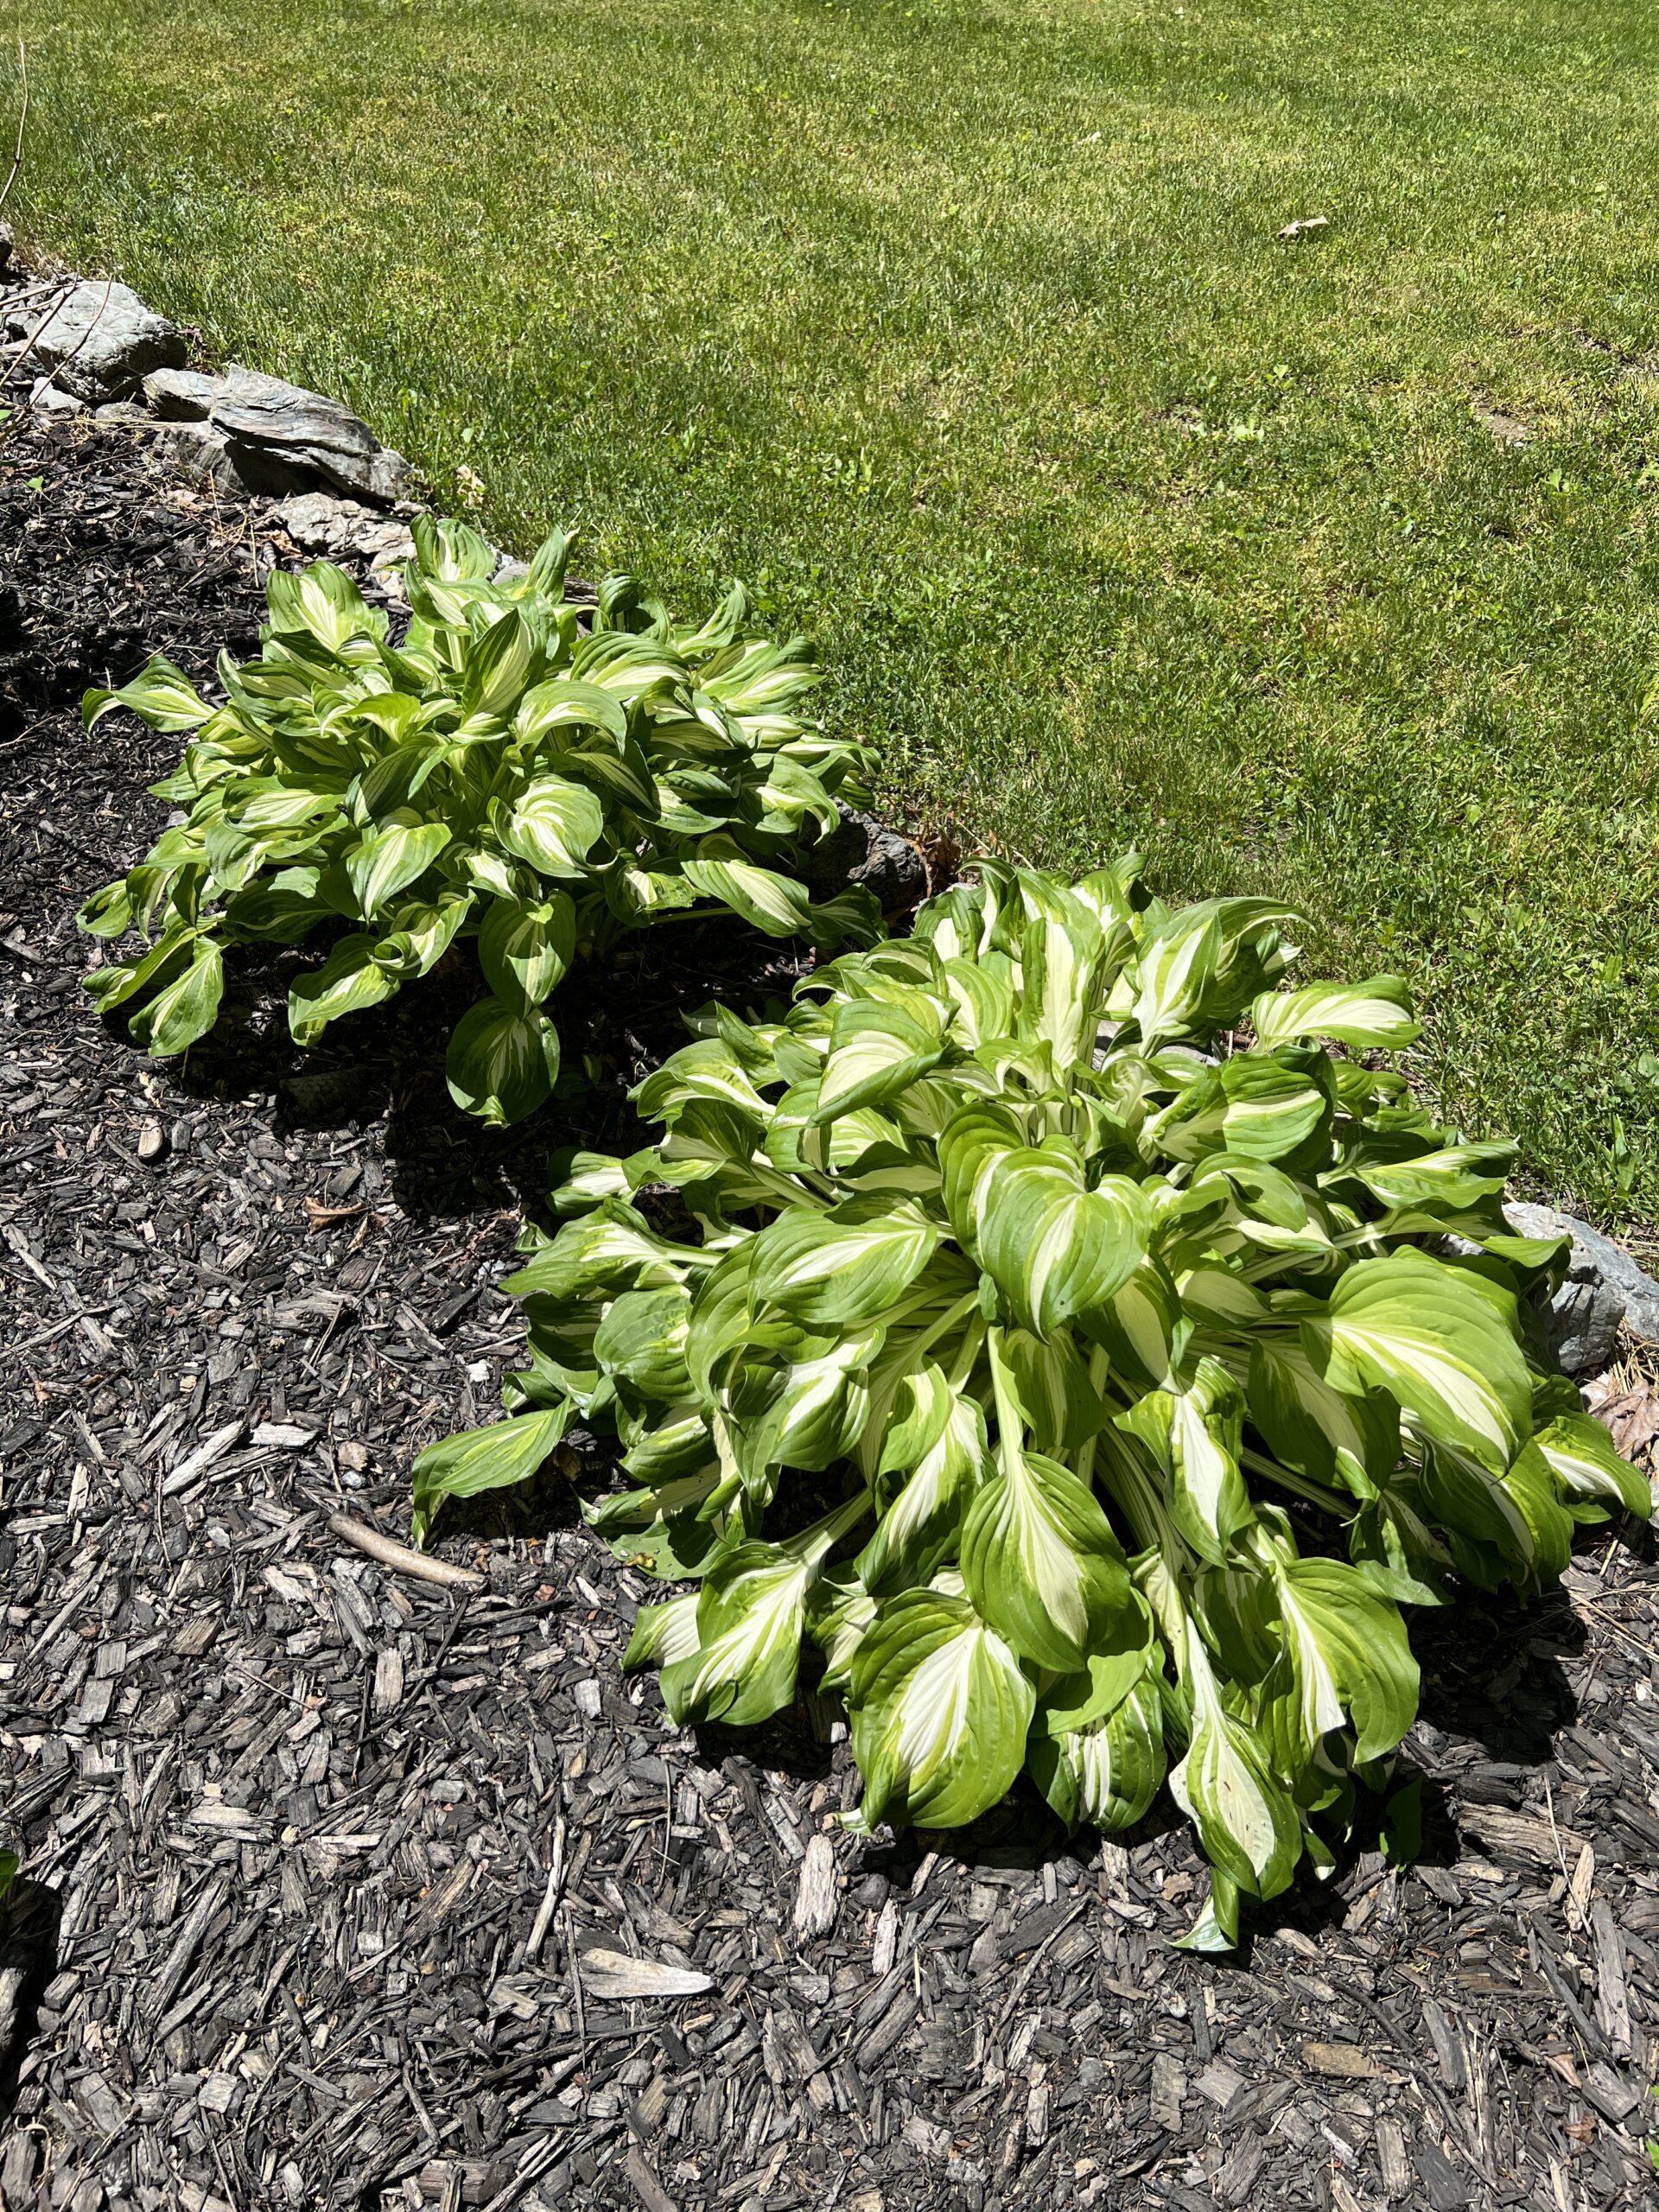
Why are my hostas wilting after transplant?
![]()
Transplanting hostas can be a rewarding endeavor, but it's not uncommon for them to exhibit signs of wilting after being moved. There are several reasons this can occur, and understanding these factors will help you provide the best care for your newly transplanted hostas.
Improper Watering
Over or under-watering is one of the most common issues leading to wilting in newly transplanted hostas. After transplanting, it’s crucial to maintain appropriate moisture levels to help the plants establish their roots.
- Over-watering: This can lead to root rot, suffocating the roots by preventing oxygen absorption.
- Under-watering: Insufficient moisture can cause stress, leading to wilting as the plant tries to conserve water.
- Consistency: It’s best to keep the soil consistently moist but not soggy to promote healthy growth.
Transplant Shock
When moving hostas, they often experience transplant shock, which can manifest as wilting. This is a normal physiological response as the plant adjusts to its new environment.
- Root Disturbance: Transplanting can disturb the root system, making it difficult for the plant to absorb water and nutrients.
- Environmental Changes: Differences in light, temperature, and moisture can stress the plant further, contributing to its wilting.
- Recovery Time: It can take time for hostas to acclimate, so patience is necessary as they adjust.
Soil Conditions
The conditions of the soil where you transplant your hostas can significantly affect their health. Inadequate soil conditions may lead to wilting.
- Drainage: Poor drainage can lead to waterlogged roots, while excessively dry soil can contribute to wilting.
- Soil Composition: Heavy clay soils may not hold moisture well and can compact, restricting root growth.
- Nutrient Availability: Soil that lacks essential nutrients may hinder plant growth, causing more stress and wilting.
Sun Exposure
Hostas are known for their shade tolerance, and inappropriate sun exposure can lead to wilting after transplant.
- Direct Sunlight: Too much sun can cause the leaves to scorch, leading to wilting as the plant loses moisture rapidly.
- Adjustments Post-Transplant: Newly transplanted hostas may need time to adjust to their light conditions, which can cause temporary stress.
- Ideal Conditions: Aim for partial to full shade to protect hostas from excessive heat and sun damage.
Pest or Disease Issues
Pests and diseases can also contribute to wilting hostas. After transplanting, they may become more susceptible to various problems.
- Insect Infestations: Pests such as slugs or aphids can stress the plant and lead to wilting.
- Diseases: Fungal infections may weaken the plant, reducing its ability to absorb water.
- Regular Monitoring: Inspect your plants regularly for any signs of pests or disease, and treat them promptly to avoid wilting.
Should you water hostas after transplanting?
![]()
When transplanting hostas, proper watering is crucial for their successful establishment in a new location. After transplanting, it is recommended to water hostas thoroughly to help them settle into their new environment. The roots may suffer from transplant shock, and adequate moisture will help reduce this stress.
Importance of Watering After Transplanting
Watering hostas after transplanting serves several purposes:
- Settling Soil: Water helps to eliminate air pockets in the soil, providing better root-to-soil contact.
- Moisture Retention: It ensures that the newly transplanted hostas have sufficient moisture to support their recovery process.
- Facilitating Nutrient Uptake: Water aids in the absorption of nutrients, promoting healthy growth and recovery.
How Much Watering is Needed?
The amount of water needed after transplanting hostas will depend on several factors:
- Soil Condition: Well-drained soil retains moisture better than sandy or dry soil.
- Weather Conditions: Hot, sunny days may require more frequent watering compared to cooler, cloudy days.
- Size of the Plant: Larger hostas might need more water initially compared to smaller ones.
Best Practices for Watering
To ensure effective watering after transplanting, consider the following practices:
See also:
- Watering Techniques: Use a garden hose, watering can, or drip irrigation to ensure even moisture distribution.
- Watering Frequency: Water daily for the first week, then gradually reduce to every few days as the hostas establish themselves.
- Check the Soil: Always check soil moisture before watering to avoid overwatering.
Signs of Overwatering or Underwatering
Recognizing the signs of improper watering is essential for the health of transplanted hostas:
- Overwatering Symptoms: Yellowing leaves, root rot, or a soggy soil texture are indications of excessive watering.
- Underwatering Symptoms: Wilting leaves, dry soil, and stunted growth signify insufficient moisture.
- Balanced Watering: Strive for a balance where the soil remains moist but not waterlogged.
Long-term Watering Strategy
After the initial transplanting phase, it’s crucial to adapt your watering strategy for ongoing care:
- Seasonal Adjustment: Water frequency should be adjusted based on seasonal changes and precipitation.
- Mulching: Applying mulch around hostas helps retain soil moisture and reduce the need for frequent watering.
- Observing Growth: Regularly observe the growth and health of hostas to determine if watering needs to be increased or decreased.
How do you move hostas without killing them?
To successfully move hostas without killing them, it is essential to follow specific steps that ensure the plants remain healthy and vibrant throughout the process. Here’s a detailed guide:
Timing the Move
Choosing the right time to move hostas is crucial for their survival. The best time to transplant hostas is during the early spring or late summer when the plants are either just emerging or in dormancy.
- Early spring allows hostas to establish roots before the heat of summer.
- Late summer provides an opportunity for the roots to grow before winter sets in.
- Avoid moving hostas during hot weather or when they are blooming, as stress can lead to their decline.
Preparing the New Location
Before digging up your hostas, prepare the new planting site to ensure a smooth transition. The location should have similar conditions to their previous environment.
- Choose a site with adequate shade, as hostas thrive in low to moderate light.
- Amend the soil with organic matter to enhance drainage and provide nutrients.
- Ensure the new location is free from competing weeds or other plants to give the hostas a better chance to establish.
Digging Up Hostas
When you’re ready to move your hostas, careful digging is essential to minimize root damage.
- Use a sharp spade or shovel and dig a wide circle around the base of the plant, approximately 12 to 18 inches out from the crown.
- Gently lift the plant out of the ground, ensuring you keep as much soil on the roots as possible.
- Shake off any loose soil but avoid disturbing the roots more than necessary.
Transplanting Hostas
Once you have your hostas out, it’s time to plant them in their new location.
- Place the hostas in the prepared hole at the same depth they were growing in their previous location.
- Fill in the hole with soil, ensuring there are no air pockets around the roots.
- Water the hostas deeply immediately after planting to help settle the soil and reduce transplant shock.
Post-Transplant Care
After relocating your hostas, ongoing care is vital to help them acclimate to their new environment.
- Keep the soil consistently moist for the first few weeks, but avoid overwatering.
- Monitor them for signs of stress, such as wilting or browning leaves, and adjust care accordingly.
- Consider applying a balanced fertilizer after a month to encourage healthy growth.
Questions from Our Readers
How can I prepare the hostas before transplanting to reduce shock?
To minimize shock, it's crucial to properly prepare your hostas before moving them. Begin by watering them thoroughly a day prior to transplanting, which helps keep the roots hydrated. Additionally, you can trim back any excessive foliage to lessen the strain on the plant during the transition.
What is the best time to transplant hostas to minimize shock?
The optimum time to transplant hostas is during the early spring or fall when the temperatures are cooler and rainfall is more frequent. This timing allows the plants to establish their roots in the new location without experiencing extreme temperatures, thus reducing the likelihood of shock.
How should I handle the hostas during the transplanting process to reduce shock?
When transplanting hostas, it's important to handle them carefully to avoid damaging the roots. Use a garden fork or spade to gently lift the entire root ball and keep as much of the soil intact as possible. This method minimizes root disruption, which is essential in reducing transplant shock.
What steps can I take after transplanting hostas to help them recover quickly?
After transplanting hostas, you should provide adequate moisture by watering them thoroughly and consistently for the first few weeks. Applying a layer of mulch around the base can help retain soil moisture and regulate temperature. Additionally, avoid heavy feeding for the first month to allow the plants to acclimate without added stress.
See also:

If you want to read more articles like How Do You Reduce Shock When Transplanting Hostas? Essential Tips for a Successful Transition, we recommend you check out our Hostas category.
Leave a Reply
Related Articles