What's the Best Time of Year to Plant Daylilies? A Complete Guide for Gardeners
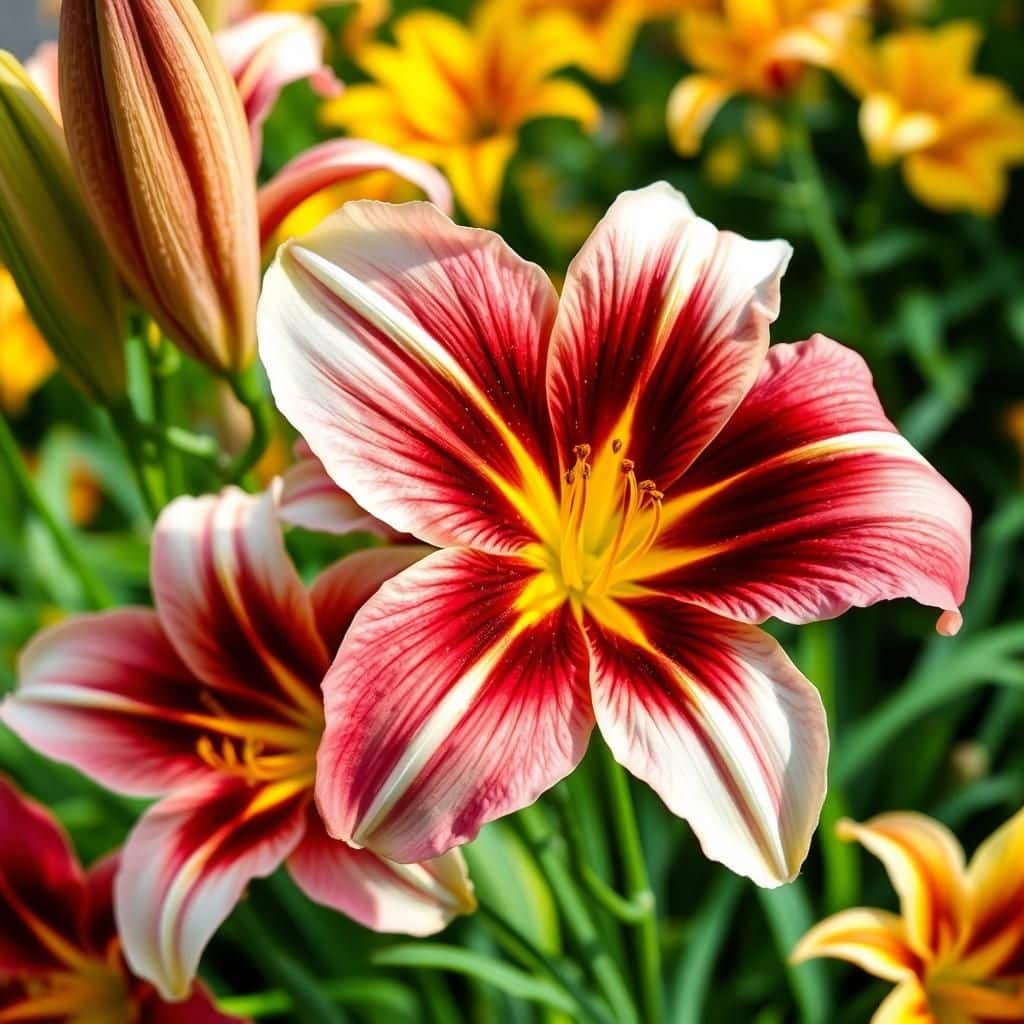
Choosing the optimal time to plant daylilies can significantly impact their growth and blooming potential. These resilient perennials are beloved for their vibrant colors and ability to thrive in various conditions. Understanding their planting season is crucial for gardeners who want to maximize their garden's beauty. This complete guide will explore the best times to plant daylilies, taking into account climate, soil conditions, and the specific needs of these hardy plants. Whether you're a seasoned gardener or a novice, this article will equip you with the knowledge needed to successfully grow daylilies in your garden.
What's the Best Time of Year to Plant Daylilies?
Daylilies are best planted in the spring or fall to ensure optimal growth and blooming. When planting in spring, wait until after the last frost to allow the ground to warm up, which promotes better root establishment. This timing gives the plants a full growing season to establish themselves before facing the heat of summer. Alternatively, planting in early fall allows daylilies to develop roots while taking advantage of cooler temperatures and ample moisture. However, it's important to complete fall planting at least six weeks before the first expected frost to ensure that the plants have enough time to acclimate to their new environment.
Why Spring is Ideal for Planting Daylilies
Spring planting is ideal for daylilies due to the milder temperatures and increased sunlight that encourage growth. As the soil warms up, daylilies can establish strong root systems before the summer heat sets in. This helps them to thrive and prepare for their bloom period. Additionally, planting in spring allows gardeners to enjoy the full effect of the blooming season later in the same year.
Advantages of Fall Planting
Planting daylilies in the fall offers several advantages, such as cooler weather, which reduces plant stress. The warmer soil temperatures in early fall can help daylilies to establish roots before winter, allowing them to emerge from dormancy with vigor in the spring. Furthermore, fall planting can lead to earlier blooms in the following year, providing a delight for the garden landscape after winter has passed.
Regional Variations in Planting Times
The best time to plant daylilies can vary significantly depending on your region. In warmer climates, such as the Southeast, planting can commence as early as February or March, while in colder regions like the North, it may be prudent to wait until April or May. It's crucial to consider local frost dates and unique climate conditions to determine the most advantageous planting time.
Soil Temperature Considerations
Soil temperature plays a pivotal role in the successful planting of daylilies. Ideally, the soil should reach at least 60°F (15°C) for optimal root growth. In spring, soil temperatures tend to become suitable between late March and mid-April, while in the fall, early September to late October may provide the right conditions before temperatures drop significantly. Gardeners must monitor soil conditions to ensure proper growth.
Preparing the Planting Site
Regardless of the time of year chosen for planting, preparing the site is essential for the successful growth of daylilies. The chosen location should offer well-drained soil rich in organic matter, and direct access to sunlight is preferred. Before planting, it’s beneficial to amend the soil with compost or aged manure to enhance nutrient content, creating an optimal growing environment for the daylilies.
| Planting Season | Ideal Conditions | Expected Blooms |
|---|---|---|
| Spring | After last frost, soil > 60°F | Same year |
| Fall | 6 weeks before frost, cooler temperatures | Following year |
Should I soak daylily bulbs before planting?

When considering whether to soak daylily bulbs before planting, it is important to understand the benefits and potential drawbacks of this practice. Soaking can enhance the germination process for various bulbs, but daylilies tend to have unique characteristics that may affect this decision.
Soaking daylily bulbs prior to planting can be beneficial, mainly for the following reasons:
1. Hydration: Soaking the bulbs allows them to absorb water, which can help kickstart the growth process, especially if they're dry.
2. Disease Prevention: A soak in a diluted fungicide solution can help eliminate any lingering pathogens on the bulb's surface.
3. Breaking Dormancy: This process can help in breaking dormancy in some cases, encouraging the bulbs to sprout faster once planted.
However, it is worth noting that daylily bulbs are quite resilient and are less likely to suffer from dehydration compared to other types of bulbs. Thus, soaking is more of a personal choice than a necessity.
Benefits of Soaking Daylily Bulbs
Soaking daylily bulbs can yield several benefits that aid in their growth. These include:
- Improved Moisture Retention: By soaking bulbs, you ensure they have enough moisture when planted, reducing transplant shock.
- Enhanced Growth Rates: Pre-soaked bulbs may establish roots faster, leading to quicker overall growth.
- Disease Control: Soaking can help reduce the risk of diseases that can occur from soilborne fungi.
How to Properly Soak Daylily Bulbs
If you choose to soak daylily bulbs, doing it correctly can maximize their potential:
- Duration: Soak the bulbs for 1-2 hours in clean water or a fungicide solution to avoid over-saturation.
- Temperature: Use lukewarm water for soaking; this can help stimulate growth without shocking the bulbs.
- Drainage: Ensure bulbs are drained well before planting to prevent rot.
Alternatives to Soaking Daylily Bulbs
If soaking isn’t your preferred method, there are alternatives to ensure healthy daylily growth:
See also:
- Dry Planting: Simply place the bulbs in invigorated soil without soaking; they will still establish roots.
- Drench Method: Water the planting area thoroughly after planting to provide moisture without pre-soaking.
- Use of Mulch: A layer of mulch can help retain soil moisture after planting without the need for soaking.
Potential Drawbacks of Soaking Daylily Bulbs
While soaking can be beneficial, it also has possible drawbacks that should be taken into consideration:
- Risk of Rot: Over-soaking can lead to bulb rot if bulbs are waterlogged.
- Extended Soaking: Leaving bulbs in water for too long can cause damage to the tissues.
- Limited Impact: Daylilies are generally resilient, meaning soaking may not significantly alter their growth trajectory.
When to Consider Soaking Daylily Bulbs
There are specific circumstances in which soaking daylily bulbs might be particularly beneficial:
- Low Soil Moisture: If planting during a drought or a dry season, soaking can help ensure adequate moisture.
- Infrequently Watered Gardens: If your garden is prone to drying out, pre-soaking can provide a crucial moisture boost.
- Prior Poor Germination: If you've experienced poor growth in the past from bulbs, soaking might improve future results.
Do daylilies spread or multiply?
Daylilies, scientifically known as Hemerocallis, are renowned for their vibrant flowers and easy maintenance. These perennial plants are capable of both spreading and multiplying, making them popular choices for gardeners.
Daylilies primarily spread through two mechanisms: vegetative propagation and seed production.
1. Vegetative Propagation: Daylilies spread naturally through the development of underground rhizomes. These rhizomes are thickened stems that extend horizontally beneath the soil, enabling the plant to produce new shoots a few inches away from the original plant. This method allows daylilies to form dense clumps over time.
2. Seed Production: Although daylilies can produce seeds after flowering, it's important to note that seed propagation is less common for spreading in home gardens. The seeds produced can germinate and grow into new plants, but this method is slower and less predictable than vegetative propagation.
How Do Daylilies Spread?
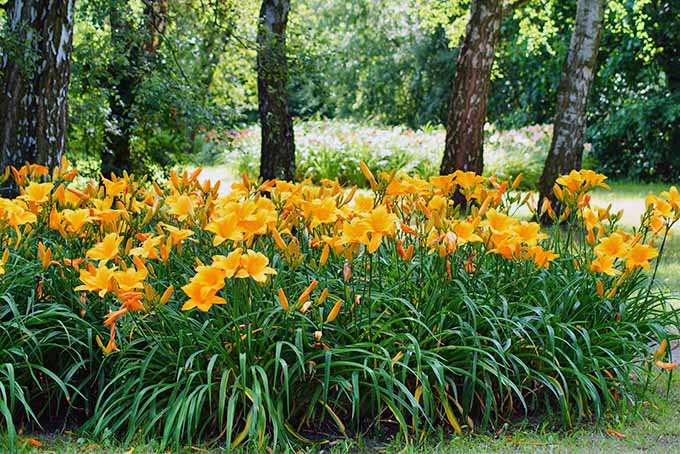
Daylilies primarily spread through rhizomes, which are specialized stems that grow horizontally underground. As these rhizomes grow, they occasionally produce new plants, contributing to the spread of daylilies across the garden bed. The key ways they spread include:
- Horizontal growth: Rhizomes extend below the surface, leading to the formation of other shoots.
- New clusters: As rhizomes spread, they create clusters of daylilies, making them look fuller and more vibrant.
- Self-sustainability: Once established, daylilies can sustain themselves and spread without significant intervention.
Benefits of Daylily Multiplication
The ability of daylilies to multiply offers several advantages for gardeners looking to enhance their landscapes:
- Low maintenance: Daylilies are hardy plants that require minimal care once established.
- Cost-effective: By allowing daylilies to multiply, gardeners can save money by not needing to purchase new plants.
- Aesthetic appeal: Expanded clusters of daylilies create rich color displays, contributing to visual interest in the garden.
How to Encourage Spreading in Daylilies
To maximize the spreading potential of daylilies, gardeners can take specific steps to encourage healthy growth:
- Provide ample space: Allow enough room between plants so they can grow freely without competition for resources.
- Water adequately: Ensure proper watering routines to promote vigorous growth, especially during dry spells.
- Divide when necessary: Consider dividing established clumps every few years to rejuvenate plants and stimulate further spreading.
What to Consider Before Planting Daylilies
As daylilies can spread easily, there are some factors to contemplate before planting them in your garden:
- Space management: Evaluate the area to ensure that spreading won’t crowd out other plants.
- Sunlight requirements: Daylilies thrive in well-drained soil and need plenty of sunlight to perform best.
- Invasive potential: While daylilies are generally not invasive, monitoring their spread can help maintain garden balance.
Common Species of Daylilies and Their Growth Habits
Different species of daylilies exhibit varying growth habits and spread characteristics. Some popular varieties include:
- Stella de Oro: Known for its compact size and prolific blooming, this variety spreads easily through rhizomes.
- Black-Eyed Susan: This daylily type is renowned for its bold coloration and tends to form large clusters.
- Happy Returns: Recognized for its repeat blooms, this variety also spreads quickly, enhancing the garden's aesthetic appeal.
Where is the best place to plant daylilies?
To find the best place to plant daylilies, it's essential to consider several factors that influence their growth and blooming capabilities. Daylilies are hardy perennials that thrive in various conditions, but they perform best when planted in an optimal environment. Here are some key aspects to consider:
Sunlight Requirements
Daylilies flourish in full sun to partial shade. Ideally, they should receive at least 6 hours of direct sunlight each day. Insufficient sunlight can lead to sparse blooming and weakened plants.
See also:
- Choose a location that receives morning sunlight, as it helps dry dew and prevents fungal diseases.
- Avoid areas with heavy shade, such as under dense trees, which can compete for nutrients.
- Consider areas that receive afternoon shade if you live in hotter climates to protect the plants from intense heat.
Soil Type and Quality
The soil in which daylilies are planted plays a crucial role in their development. They prefer well-drained, fertile soil.
- Check the soil pH; daylilies thrive in slightly acidic to neutral soil (pH 6.0 to 7.0).
- Add organic matter, such as compost, to improve soil structure and fertility.
- Avoid planting in areas where the soil remains soggy for extended periods, as this can cause root rot.
Space Considerations
When planting daylilies, spacing is key to allow for their natural growth habits.
- Space daylily plants at least 18 to 24 inches apart to allow air circulation.
- Consider the mature size of the variety you are planting; some may require more space than others.
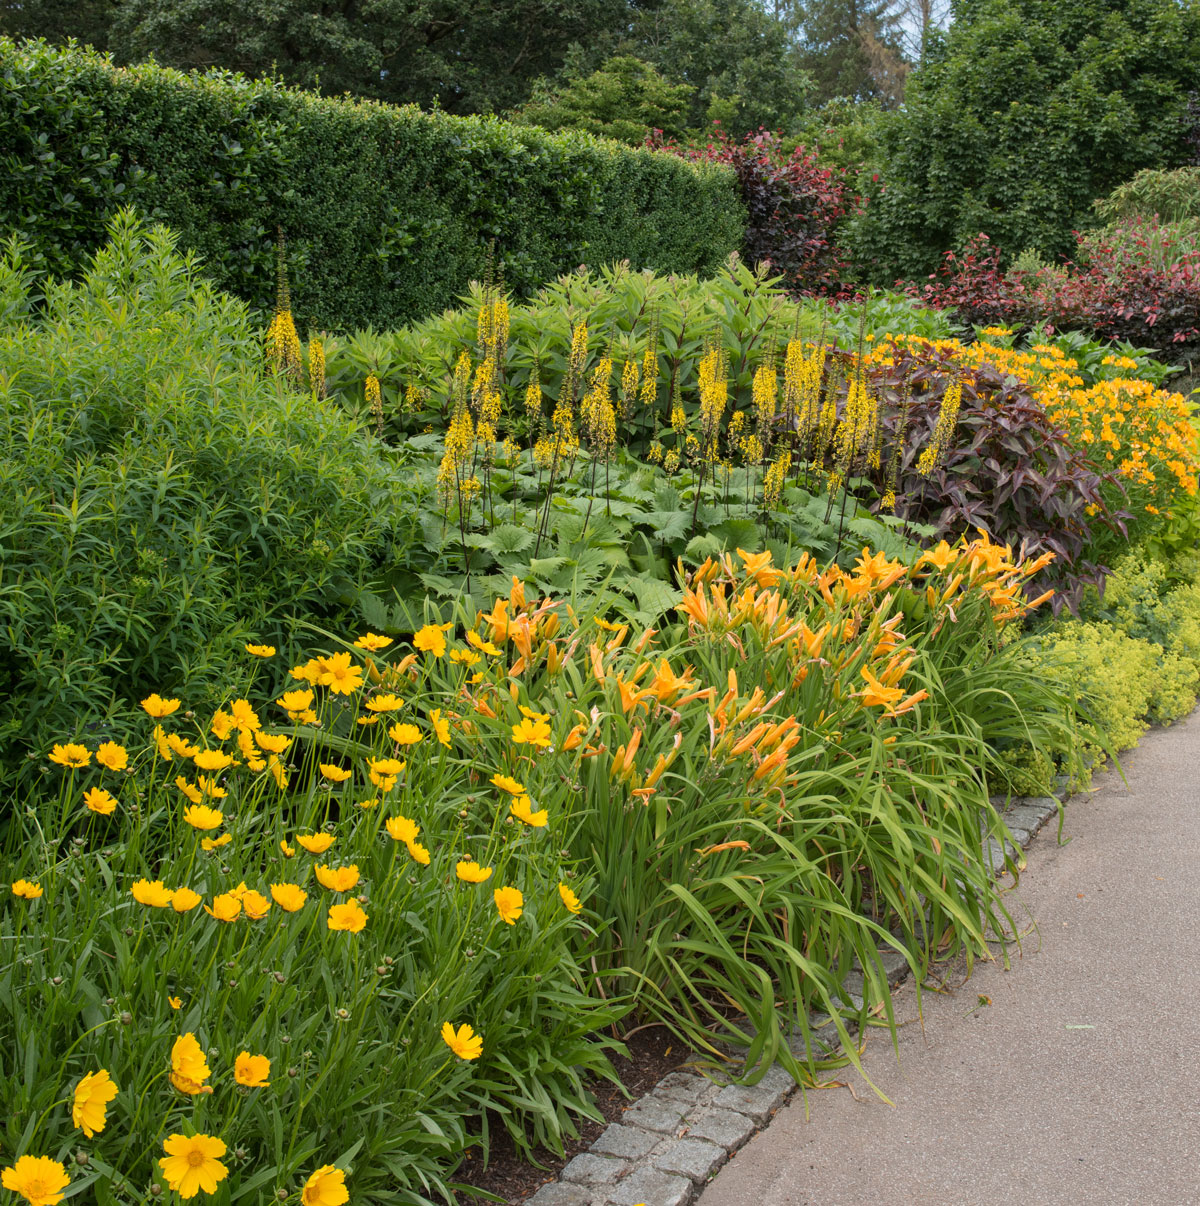
- Planting in rows or groups can create an attractive visual display when they bloom.
Protection from Wind
Strong winds can damage daylilies, especially those with tall or delicate blooms.
- Plant daylilies in locations that are shielded from harsh winds, such as near a fence or other plantings.
- In exposed areas, consider using windbreaks or variable height plants to offer protection.
- Observe your garden's microclimates to choose the best planting location that minimizes wind exposure.
Proximity to Water Sources
While daylilies are drought-tolerant once established, they benefit from consistent, moderate watering during their growth phase.
- Choose a location near a water source for easy access to irrigation, especially during dry spells.
- Ensure the chosen site allows for proper drainage to avoid waterlogging.
- Mulching around the plants can help retain moisture and regulate soil temperature.
Do daylilies like to be crowded?
Daylilies, scientifically known as Hemerocallis, are quite resilient and adaptable plants. However, when it comes to the subject of being crowded, the answer is nuanced. Daylilies do not particularly thrive when excessively crowded, although they can tolerate a certain level of density. If their growing conditions are optimal, they may even bloom well despite being somewhat crowded, but this can impact their overall health and flowering in the long term.
Factors in Daylily Crowding
Understanding Daylily Growth Habits
Daylilies are known for their robust growth and ability to adapt to various conditions. They have a clumping growth habit which allows them to spread outward over time. Here's more on their growth habits:
- Clumping nature: Daylilies form tight clusters of leaves that can create a thick mass if not spaced properly.
- Spread: Each plant can produce multiple fans each season, leading to eventual overcrowding if not managed.
- Life cycle: They can live for several years, meaning regular division is necessary to prevent overcrowding.
Effects of Crowding on Daylilies
When daylilies are overcrowded, it can lead to several detrimental effects. The competition for resources becomes more intense, which can hinder their growth. Here are some effects of crowding:
- Reduced flowering: Overcrowding can lead to fewer flowers and diminished vigor as the plants compete for sunlight and nutrients.
- Pest and disease susceptibility: Close proximity allows pests to easily spread and can create humid microenvironments conducive to disease.
- Root system complications: Crowded plants may struggle with root growth, leading to poor drainage and nutrient uptake.
Best Practices for Planting Daylilies
To ensure optimal growth and flowering, careful planting and maintenance are essential. Proper spacing is key to their success. Here are some best practices:
- Spacing: Ideally, daylilies should be planted 18 to 24 inches apart to allow for adequate air circulation and room for growth.
- Regular division: Dividing daylilies every 3 to 5 years helps manage crowding and promotes healthy growth.
- Soil management: Ensuring well-drained soil and appropriate nutrients can support healthier plants even in tighter spaces.
Signs Your Daylilies are Overcrowded
Recognizing the signs of overcrowding can help you take timely action to rejuvenate your daylily plants. Here are some signs to watch for:
- Reduced flower production: If you notice fewer blooms, it might indicate that the plants are competing too much for resources.
- Weak growth: Stunted or spindly growth can suggest that the plants are not able to access adequate light and nutrients.
- Increased pests: An uptick in pest activity can also be a sign of crowded conditions that allow pests to thrive more easily.
Solutions for Overcrowded Daylilies
If you find that your daylilies are overcrowded, there are several strategies to manage their growth effectively. Consider the following solutions:
- Thinning: Cut back the dense foliage or thin out some plants to improve air circulation and light access.
- Dividing: Carefully divide the overcrowded clumps, replanting them to new locations to give each plant enough space.
- Monitoring: Regularly check the plants for signs of distress and adjust care based on their response to environmental changes.
Questions from Our Readers
When is the ideal planting season for daylilies?
The ideal planting season for daylilies is typically in the spring or fall. Planting in the spring allows the roots to establish before the heat of summer, while fall planting provides a good chance for the plants to settle in before the cold winter months. It's essential to avoid planting during extreme weather conditions.
Can daylilies be planted in summer?
While it is possible to plant daylilies in the summer, it is generally not recommended due to the heat stress that can occur. If you must plant in the summer, ensure that you keep the soil adequately moist and provide some shade to help the plants acclimate.
Is there a specific time in spring or fall that is best?
In spring, the best time to plant daylilies is after the last frost date, typically around April to May, while in fall, aim to plant about 4-6 weeks before the first expected frost, usually in September to October. This timing allows the plants enough time to establish roots before temperature extremes.
See also:
What temperatures are suitable for planting daylilies?
Daylilies thrive best when planted in temperatures between 60°F and 75°F (15°C and 24°C). Planting in these temperature ranges facilitates improved root development and minimizes shock, helping the plants adapt more effectively to their new environment.

If you want to read more articles like What's the Best Time of Year to Plant Daylilies? A Complete Guide for Gardeners, we recommend you check out our Daylily category.
Leave a Reply